
"How to" Video on Heavy Duty Rail for BlackMOA™ - Fixed Toilet
Tools Required:
- 4mm Screws (provided with the kit)
- Screwdriver
Components:
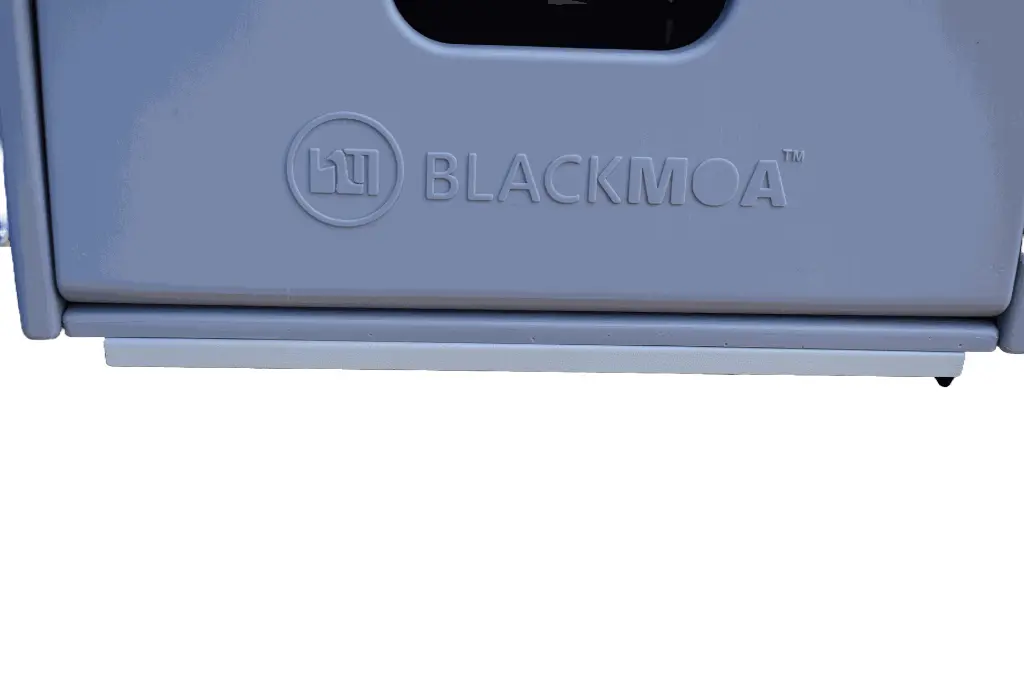
- BlackMOA™ Fixed Cassette Toilet
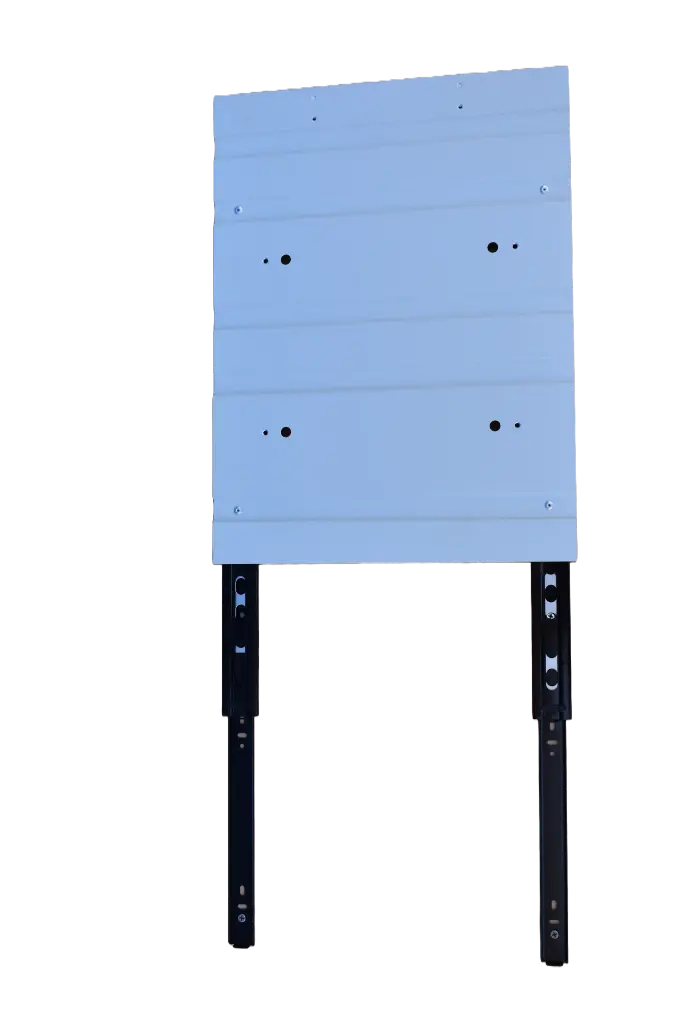
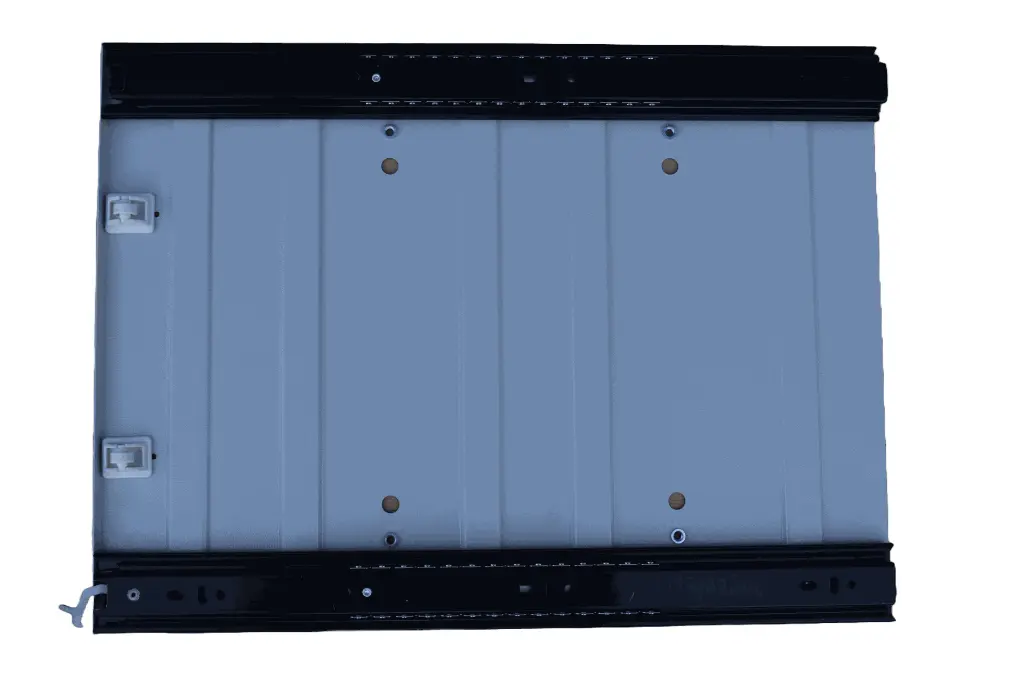
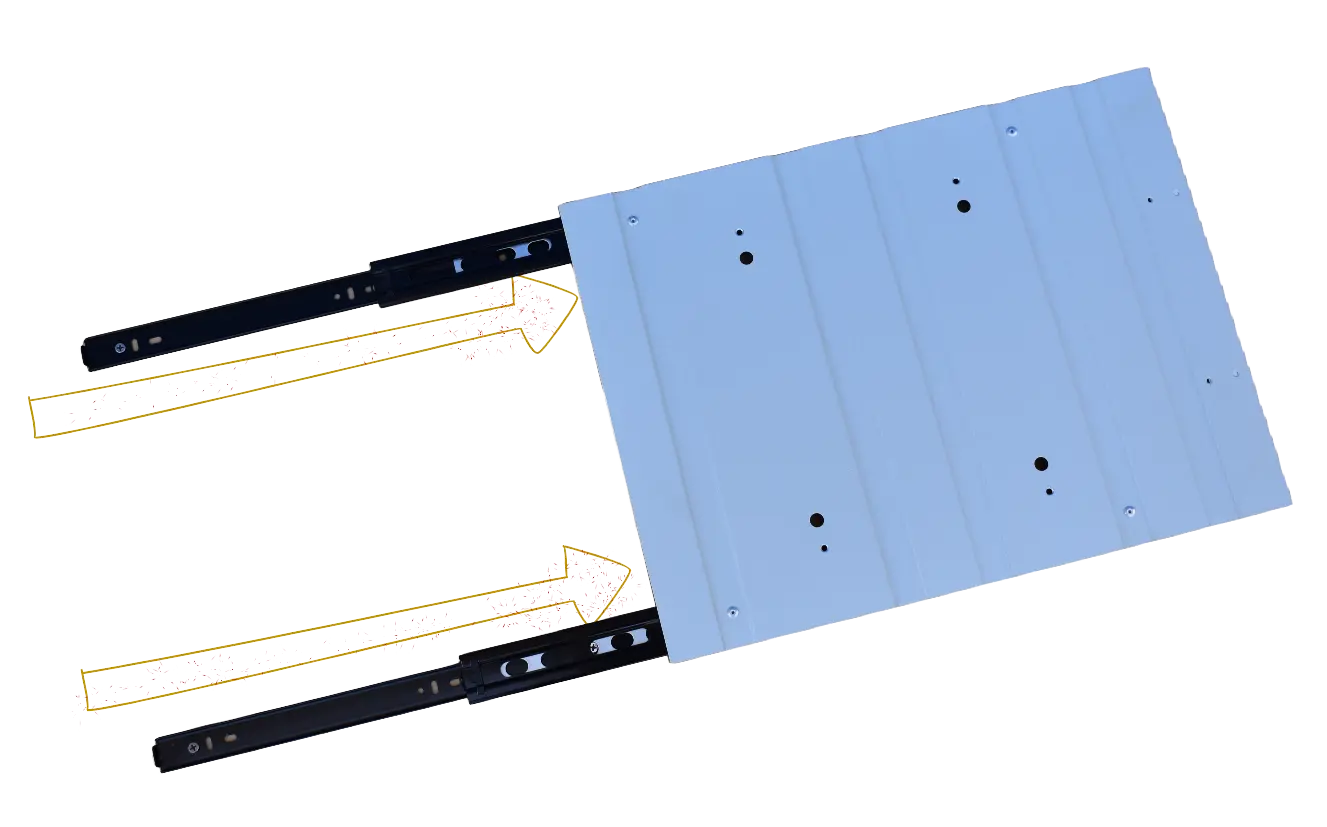
- Sliding Plate with Rails
- Small Screws for securing
Step 1: Prepare the Setup
- Ensure all parts are present: BlackMOA™ Cassette Toilet, Sliding Plate with pre-attached Rails, and Screws.
Step 2: Position the Toilet
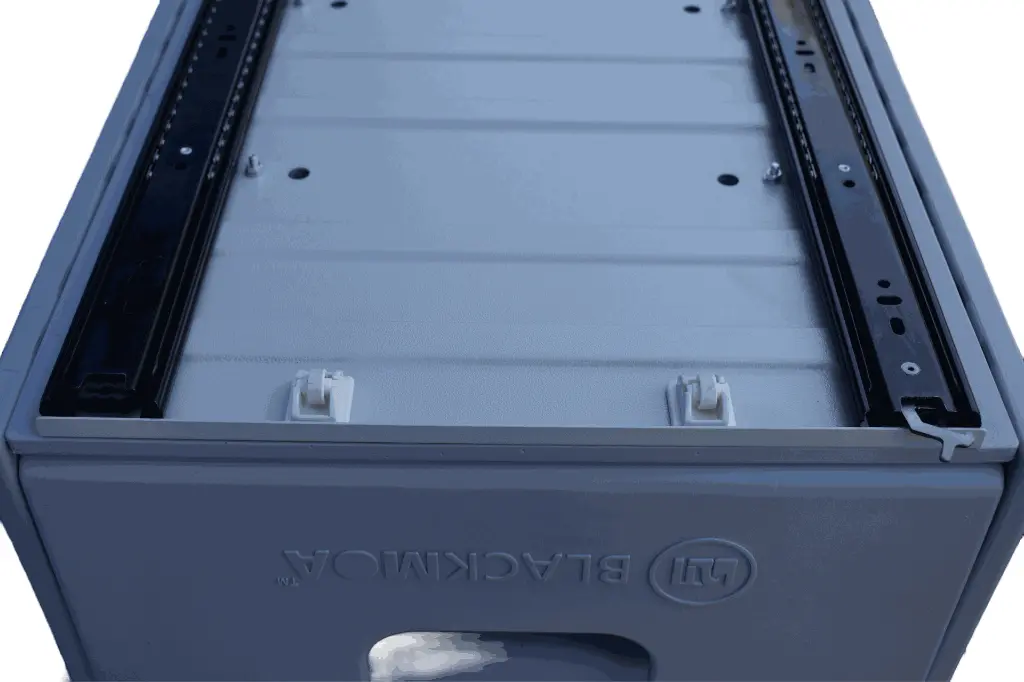
- Carefully turn the BlackMOA™ Cassette Toilet upside down on a smooth surface to expose the bottom plate.
Step 3: Align the Sliding Plate
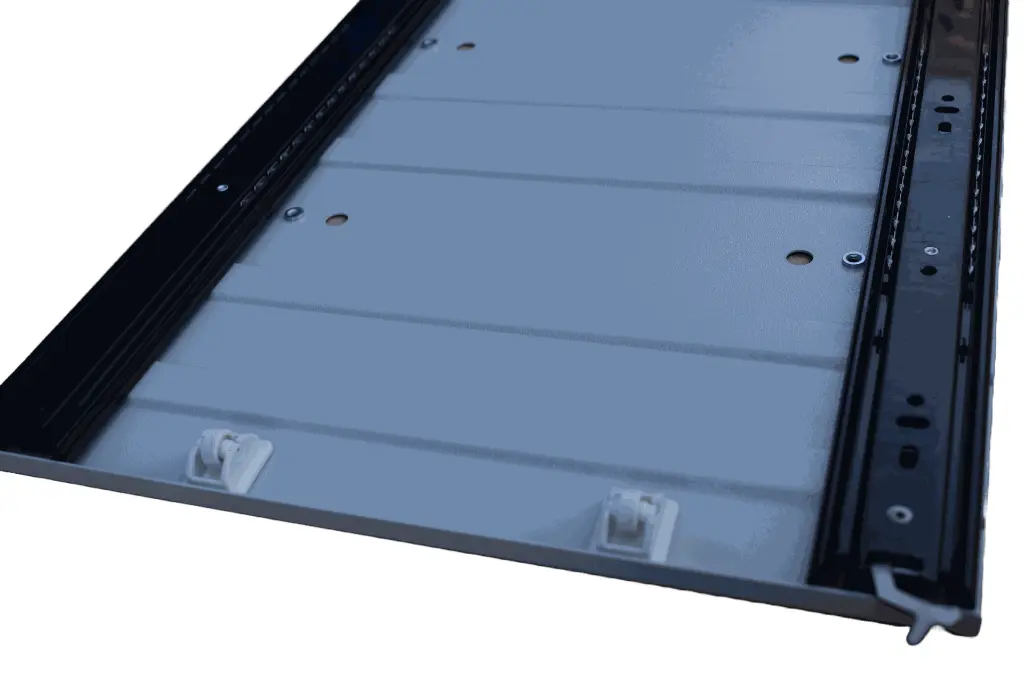
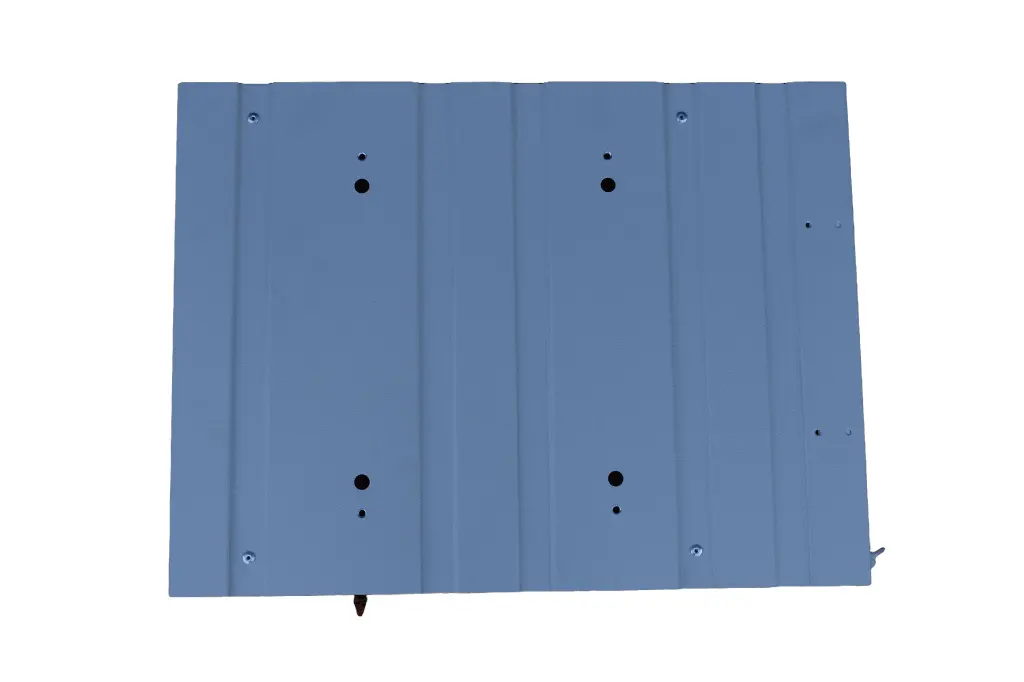
- Take the Sliding Plate, ensuring the side with the wheels is facing towards where the Cassette door will be when the toilet is upright (Front Facing Sliders ⇅).
- Position the Sliding Plate under the toilet such that the holes on the plate align with those on the bottom of the toilet.
Step 4: Secure the Plate
- Insert the 4mm screws into the aligned holes.
- Use a screwdriver to secure the screws tightly.
- Ensure there are no loose parts and that the plate is sturdy. There should be four screws in total.
Step 5: Verify the Lock Mechanism
- Confirm that the locking mechanism on the Sliding Plate is engaging properly. There should be locks located on the side and the back of the plate.
Step 6: Finalize Installation
- Test the slide mechanism by gently pushing and pulling to ensure the toilet moves smoothly along the rails.
- Confirm the toilet locks via built-in locking mechanisms.
Step 7: Completion
- Double-check all connections and locking points to ensure everything is secure.
- The toilet should now be securely mounted and ready for use.
Additional Tips:
- Regularly check the screws and locks for any looseness.
- Ensure that the slide mechanism remains clean and unobstructed for optimal performance.
- Watch the demo video here.
Alternative Products
These other products might interest you