
Installing campervan curtain tracks on curved walls requires flexible profile rails shaped to the vehicle bodywork and fastened directly into structural pillars or timber battens. To complete the job, commercial workshops and DIY converters measure the curve against the metalwork, shape the profile gradually by hand, fit mechanical brackets at close intervals, and install captive end stops. Doing so ensures curtains draw smoothly across compound contours without binding, rattling, or tearing away during road transit. This installation guide outlines the repeatable workshop method for achieving reliable results across single builds and fleet fitouts.
Curved van walls present two primary challenges: compound radiuses along the upper pillar lines and vibration during transit. Unlike residential window frames, vehicle walls curve on vertical and horizontal planes. Curtain hardware must follow these contours closely to prevent gaps that admit light, while remaining rigid enough to support commercial-grade fabrics.
Required Workshop Tools and Materials
Before beginning the installation, assemble all required hardware and tools. Using the proper profile and mechanical fixings ensures the rail withstands repetitive use in commercial campervan rentals and conversion builds.
- Flexible aluminium or PVC curtain profile: Sized to the overall width of the window opening plus overlap.
- Mounting brackets: Top-fix or face-fix brackets suited to your internal framing.
- Gliders and end stops: Low-friction wheeled or friction runners, complete with locking end caps.
- Fasteners: Short gauge self-tapping screws for sheet steel or wood screws for plywood panelling.
- Hand tools: Cordless drill with driver bits, high-speed drill bits, fine-tooth hacksaw, deburring file, tape measure, masking tape, and a marker pen.
- Template medium: Heavy card or craft paper to trace compound wall sections.
Step 1: Template the Window Contour and Rib Structure
Begin by locating the vehicle's structural framing ribs and window surrounds. In campervan conversions, mounting directly to internal sheet steel or solid timber lining battens provides the necessary load-bearing capacity. Do not attempt to secure tracks directly into unsupported hollow core wall lining, as road vibration will loosen screws over time.
Place masking tape along the intended mounting path directly above the window opening. Measure the glass at its widest point and establish the track position above the aperture. When dealing with complex body contours, press a strip of stiff paper or card against the wall contour and trace the profile. This template prevents guesswork when transferring the curve to the track profile. Refer to our guide on how to measure a campervan window for curtains to ensure drop calculations account for both the track and glider clearance.
Step 2: Shape Campervan Curtain Tracks to Match the Wall
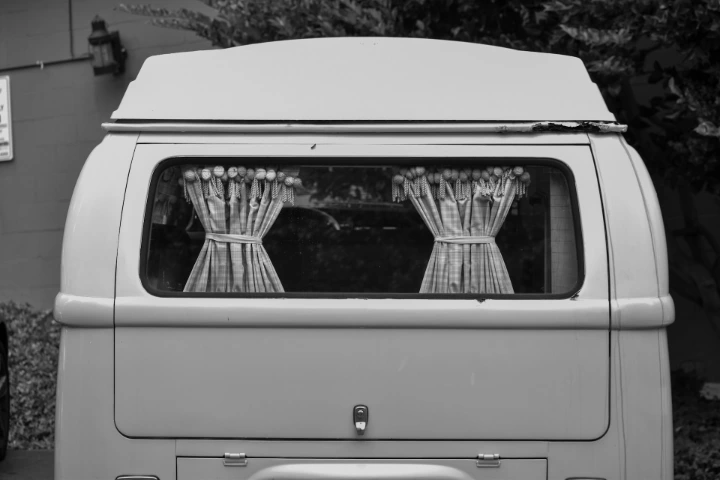
Installing campervan curtain tracks on curved walls requires flexible profile rails shaped to the vehicle bodywork and fastened directly into structural pillars or timber battens.
Flexible campervan curtain tracks are engineered to bend without collapsing the internal glider channel, but they must be shaped with care. Lay the profile against your template or hold it against the taped wall line to determine where the radius begins.
Work along the length of the track in small increments, applying even thumb pressure to ease the extrusion into the curve. Never force a tight bend in a single motion, as this can pinch the runner groove and jam the gliders. If using an aluminium track profile, bending over a cylindrical former or a timber jig prevents kinking. Test gliders continuously through the curved section during the bending process to verify that the internal channel maintains uniform width and does not bind.
Once the shape matches the vehicle contour, cut the profile to length using a fine-tooth hacksaw. File the cut edges smooth and deburr the internal groove to ensure runners slide freely through the ends.
Step 3: Fasten Mounting Brackets to Structural Points
Mark bracket positions along the curved line on the wall or ceiling ribbing. On straight runs, mounting brackets can be spaced wider apart. On curved sections, place brackets closer together—especially at the apex and transition points of the curve—to counteract the track's natural tendency to spring back straight.
Pre-drill pilot holes through the vehicle wall lining and into the structural ribs behind it using a drill stop to protect the exterior van skin. Where mounting straight into vehicle steelwork, use short self-tapping screws with broad pan heads. Drive the screws firmly until the bracket seats flat against the surface, ensuring there is no play or wobble.
Step 4: Snap the Profile and Install End Stops
Offer the pre-curved track to the mounted brackets. Starting from one end, engage the track profile into the bracket clips. Apply upward pressure until the bracket snaps or clamps locked around the profile flange. Progress along the wall, pushing the track into each successive clip while following the contour.
Thread the required number of gliders into the channel. Immediately install mechanical stop ends at both terminations of the rail. In transit vehicles, standard friction stops are insufficient; use screw-locking end stops that clamp securely into the track channel. These prevent curtains and runners from sliding off the rail when the campervan accelerates, brakes, or corners on uneven roads.
Step 5: Hang the Drapes and Test Motion Clearance
Attach the curtain heading hooks directly into the gliders. If your fitout uses standard tape or pleat headings, verify that the curtain drop clears any cabinetry, bench units, or passenger seat mechanisms below the sill. Curtains should hang plumb without rubbing excessively against the curved wall panels.
Fit dedicated wall tiebacks or snap fasteners along the window frame edges. In vehicle conversions, tiebacks are mandatory to retain bunched fabric against the wall pillars while driving, preventing curtains from obscuring side mirrors or driver sightlines.
Warning: Sliding Door Clearance Hazard
A common fitting error is installing the track profile too close to sliding door mechanisms. Sliding doors require precise side clearance along their upper roller arms. Before drilling, operate the side door through its entire travel path to confirm the track, brackets, and gathered curtain fabric clear the moving door arm. Track profiles fitted too close will catch in the roller mechanism, causing damage to both the hardware and the vehicle bodywork.
How to Check the Finished Installation
Before releasing the vehicle for road use or hire operations, perform a systematic quality check across the installation:
- Runner friction: Draw the curtain across the entire curve by hand. The gliders must travel freely through the radius without catching, binding, or requiring excessive force.
- Mounting stability: Apply gentle downward pressure along the rail at each bracket position. There should be zero deflection, flex, or pull-out from the wall lining.
- Transit security: Confirm that the screw-locking end stops are tight and that tiebacks securely hold the gathered fabric against the frame.
- Light coverage: Close the curtains fully and inspect coverage. While fabric tracks contribute to occupant privacy, remember that curtains alone do not insulate a vehicle, and minor ambient light will filter around the edges unless side channels are fitted. For insight on perimeter light gaps, review why light still gets into a campervan at night.
Curved Wall Track Installation FAQs
Can you bend standard curtain tracks to fit curved surfaces?
Standard rigid domestic tracks will pinch and crack if bent around van curves. You must use flexible curtain rails specifically manufactured with ductile aluminium or pliable polymers that allow manual shaping without collapsing the glider groove during a campervan conversion road trip build.
What tools do I need to install campervan curtain tracks?
Basic fleet fitout tools include a cordless drill, metal pilot bits, short pan-head self-tapping screws, a hacksaw with a fine metal blade, a deburring file, masking tape, a tape measure, and a card template to record wall contours before installation.
How do I measure curved walls for curtain track installation?
Measure the glass width at its widest point, then measure the drop from the planned track position to the window base. Use a flexible measuring tape pressed firmly along the contoured wall surface to record the actual track length required, and trace unusual pillar curves onto paper templates.
Should I use adhesive or screws for campervan curtain tracks?
Always use mechanical screw fixings into structural ribs or timber battens. Double-sided tape and adhesives degrade under vehicle cabin temperature fluctuations and fail under road vibration, leading to track detachment when driving across varied itinerary routes.
How do I prevent curtains from falling off tracks on curved walls?
Fit heavy-duty screw-clamp stop ends at each end of the track profile rather than simple push-fit rubber plugs. In addition, install fixed tiebacks on the wall trim to secure the curtain fabric firmly against the side frame while the campervan is in motion.
To outfit your fleet or van conversion with durable window solutions, send us your window measurements and photos for our team to review, or view our Curtains: Vans (Traditional) range to select proven commercial-grade sets.